How to Make a Origami Castle Step by Step
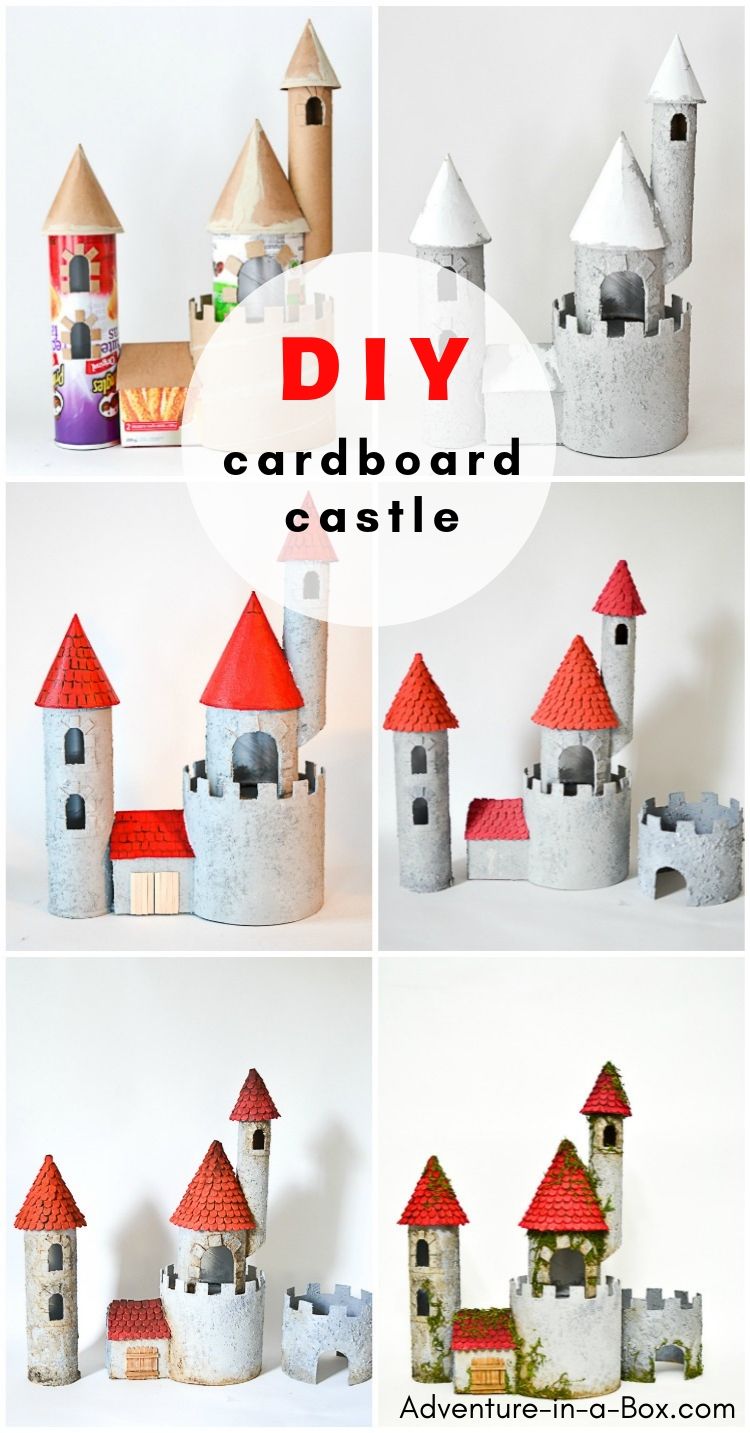
Learn how to make a castle from cardboard, paper rolls and other recyclables!
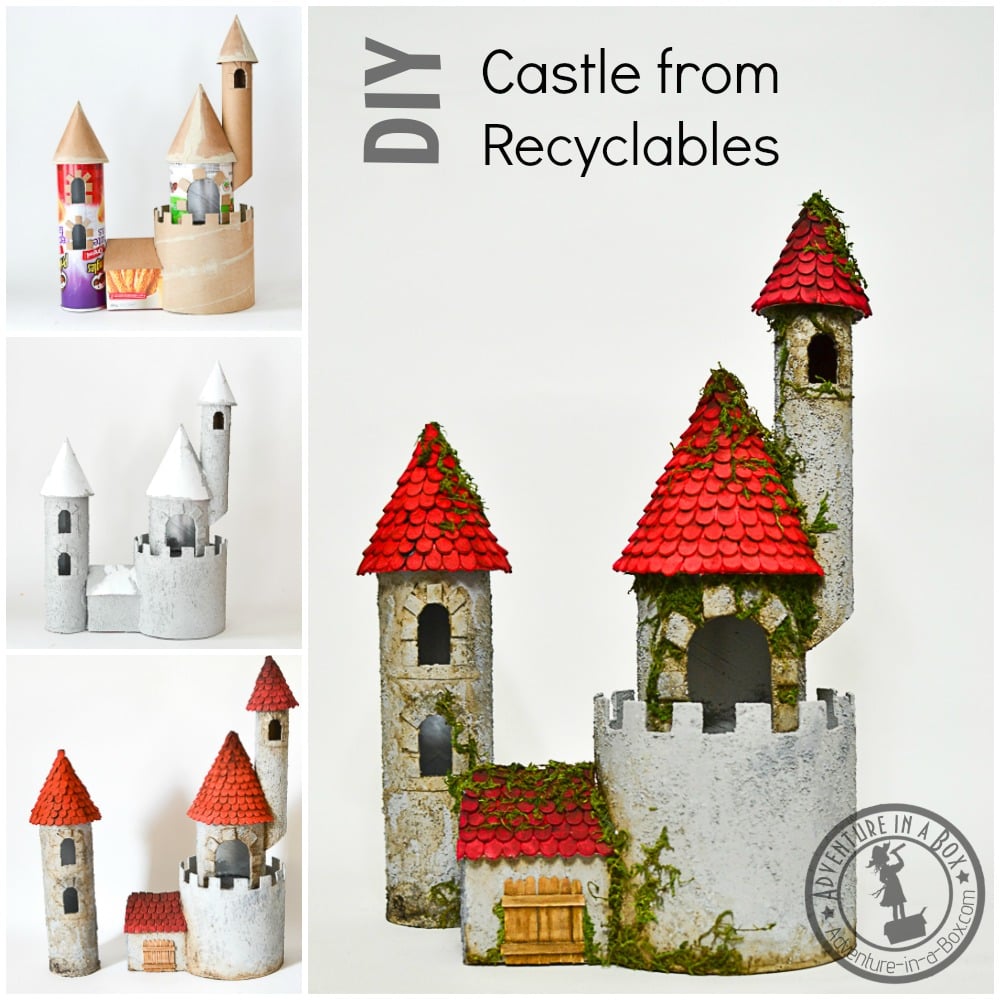
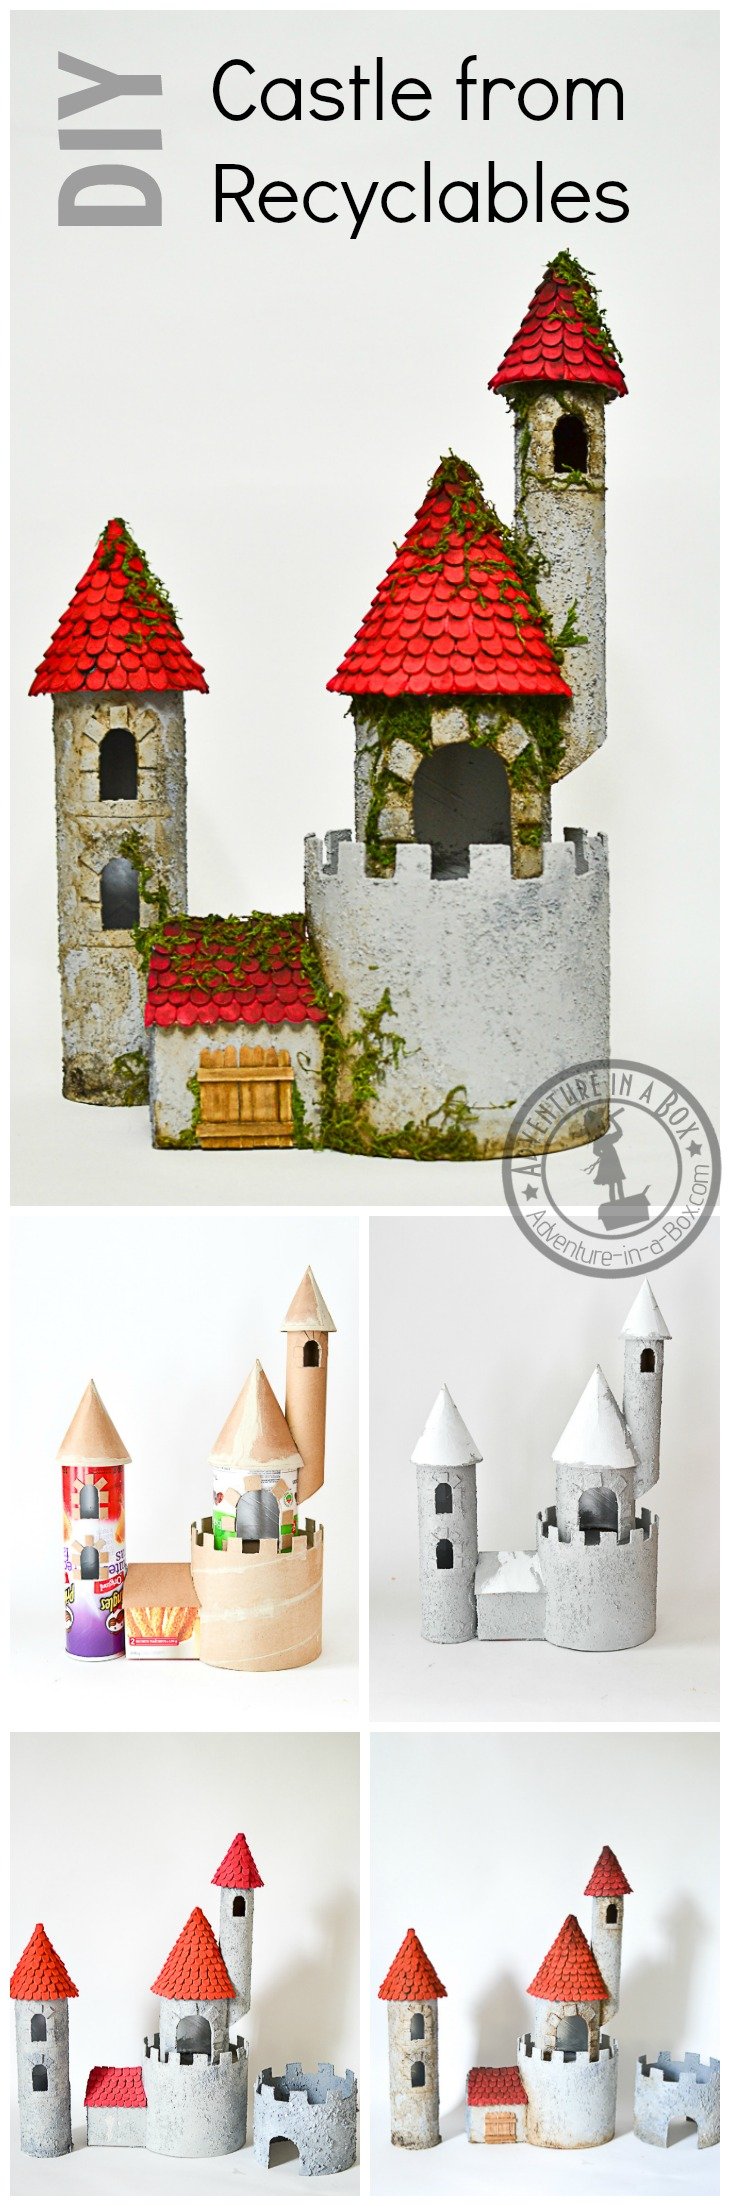
Chances are, you have a lot of packing tubes, paper towel and wrapping paper rolls, potato chip or nut containers in your recycling bin. We sure did. At least, until we decided to make a cardboard castle out of them, on account of those tubes looking so much like medieval towers!
Materials for the Cardboard Castle
This page contains Amazon affiliate links to the products we used.
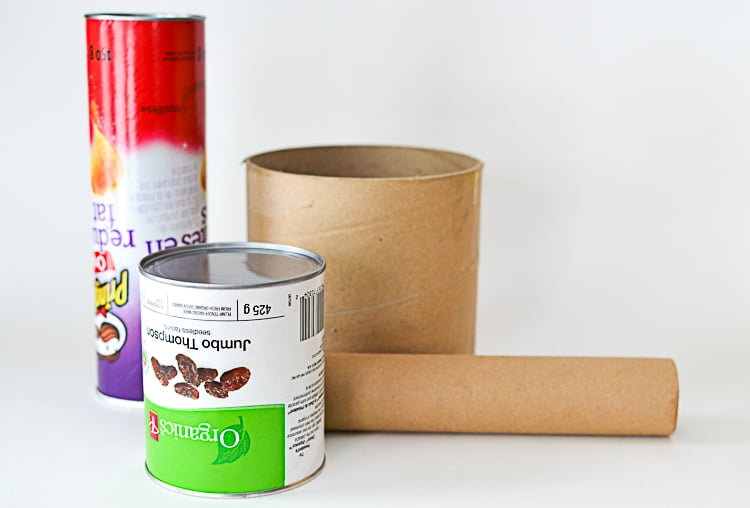
- packaging tubes in a variety of diameters and heights (Pringles potato chips, paper towel or wrapping paper rolls, and other cylindrical containers)
- additional light cardboard (frozen pizza and cereal boxes)
- acrylic paints (black, white, raw sienna, and red or whatever colour you want for the roof)
- sticky foam sheets (red or, again, whatever colour you want for the roof)
- a few popsicle sticks
- corn meal
- preserved moss
- craft knife
- hot glue gun and white glue
Cardboard Castle: DIY
Make the Castle Roofs
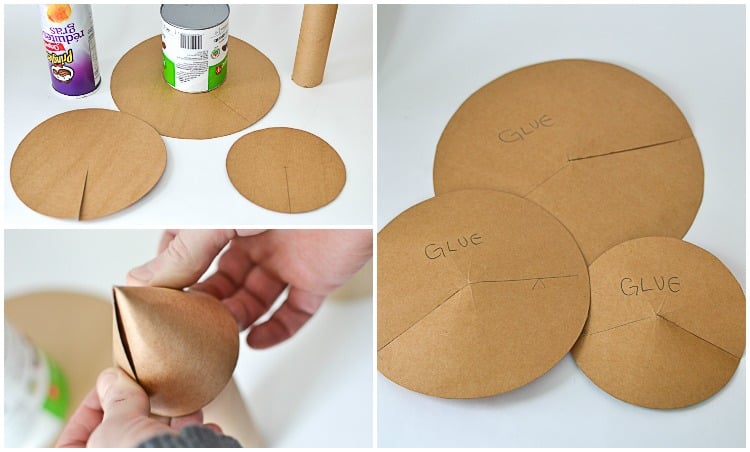
- First, we're making a roof pattern by laying a ruler against the lip of the cylinder and measuring (at the angle you want the roof to be) from the centre to the eave. This will be the radius of the circle used for the roof pattern. Draw the circles with a compass on hard card stock, then cut them out. A good source of such card stock can be found in the recycle bin, if you eat breakfast cereal, frozen pizzas or the like!
- Make a straight cut from the edge to the centre of the circle.
- Now, twist the circle to make a cone with the appropriate amount of overlap to create the desired roof pitch. Mark the overlap with a pencil. All of the excess will be glued, as shown on the picture. This gives us multiple layers which makes the roof stronger.
- Next, glue the cones with white glue and secure them with tape for half an hour until the glue sets.
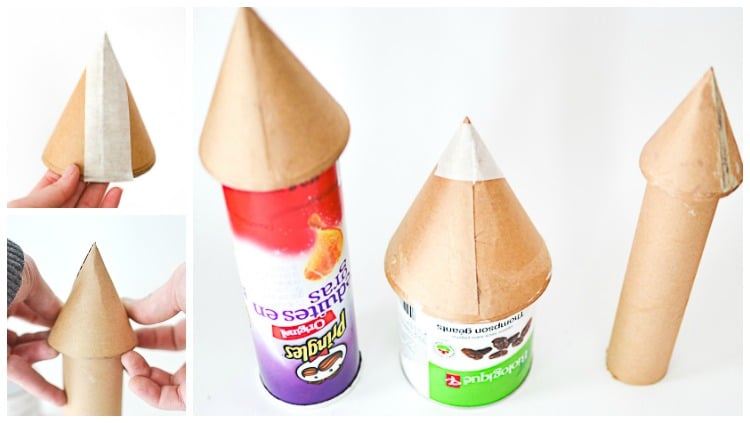
- We didn't attach the roofs to the tubes at this point because the tubes still needed some work, but you can see on the picture how it was supposed to look.
Make the Main Tower
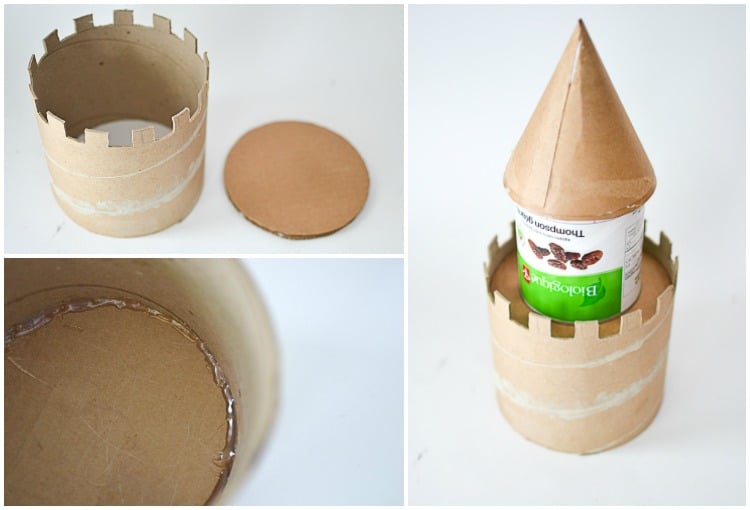 Our widest tube (8″ wide, my husband got a rolled sheet of bronze delivered in it) didn't have a bottom, and we wanted to use it for the centre piece. After cutting the crenellations with a craft knife, we hot glued a circle inside of the tube, about an inch below the edge.
Cardboard Castle Gatehouse
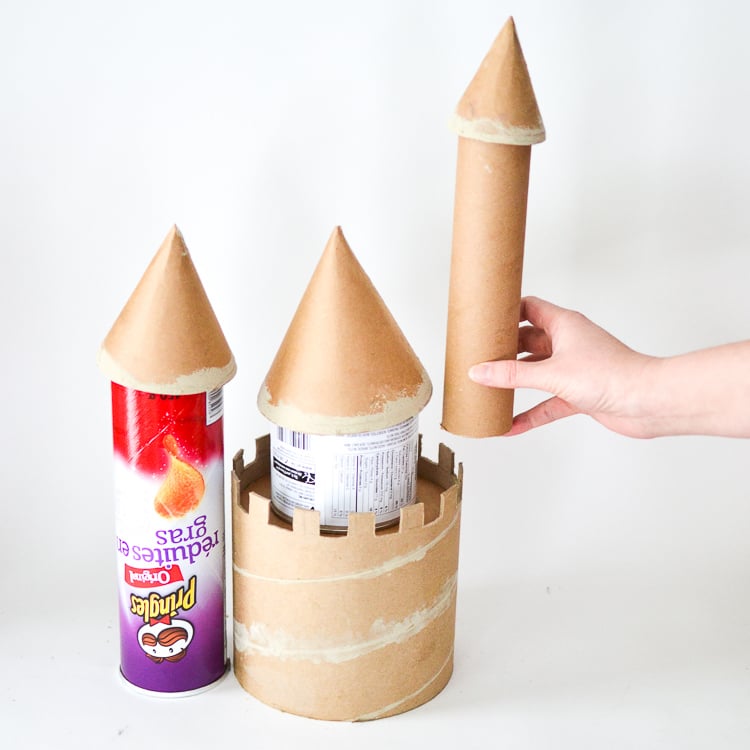
This was how the castle looked at that point. You can see how it's going to come together, and at that point we realized that it was a little too cylindrical. So we decided to add a gatehouse, made out of a rectangular box that held bread sticks in its past life. They were delicious, by the way!
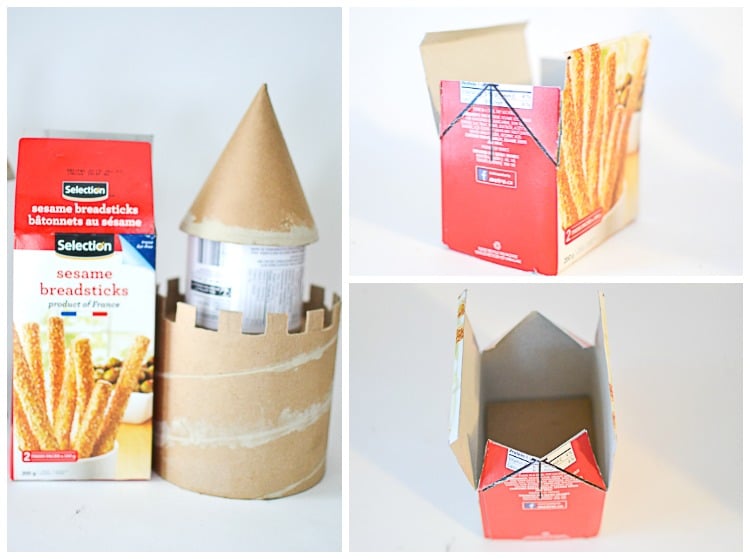
- If the box is too big like ours was, cut it down.
- Mark the roof pitch on the sides, then fold down the excess as glue tabs for the surfaces of the roof to adhere to.
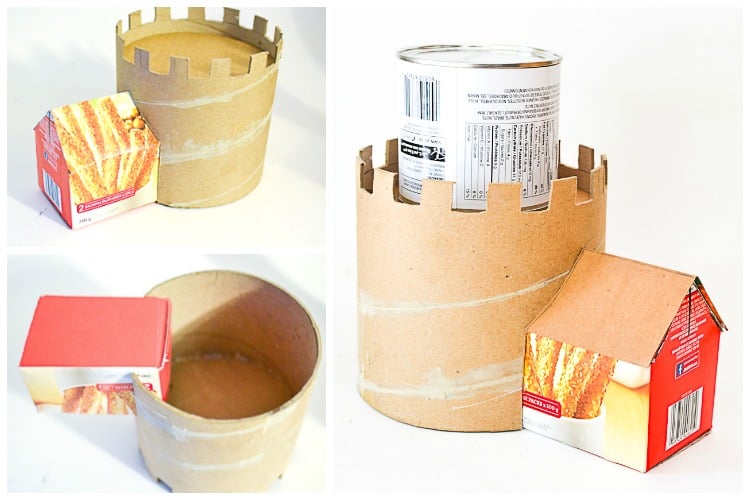
- Using hot glue, finish the roof and stick the gatehouse to the main tower
DIY Castle Door & Windows

- Using a hobby knife, cut the windows and doors of the castle.
- Cut little rectangular (brick-shaped!) pieces out of the cardboard cutouts, then glued them around the windows and doors to imitate stone frames.
- Use a cardboard tube to make a whimsical tower sprouting off the main tower. It will need a little trial-and-error trimming with a hobby or box knife.
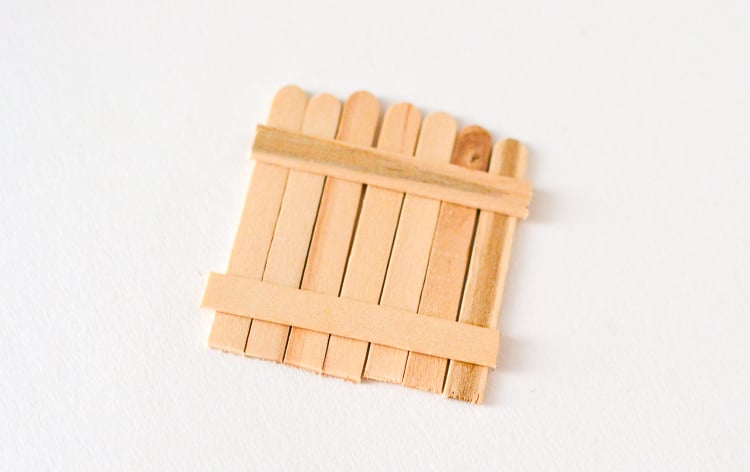
- Make a door by cutting craft sticks to a certain length, then attaching them together with two craft sticks and white glue.
- Hot glue all the pieces together. We chose to leave the roof of one tower loose, so that it can be removed for accessing the inside of the castle. It was a good idea, considering that our son's favourite way to play with the castle is to stick different objects through its windows. We certainly needed a way to take them out again!
Paint the Castle
From this step on, everything is pretty straightforward. That doesn't mean it went smoothly for us – we finished building the castle before moving, then packed it with us across Canada. After repairing a bit of damage, we finally got around to adding the final touches!
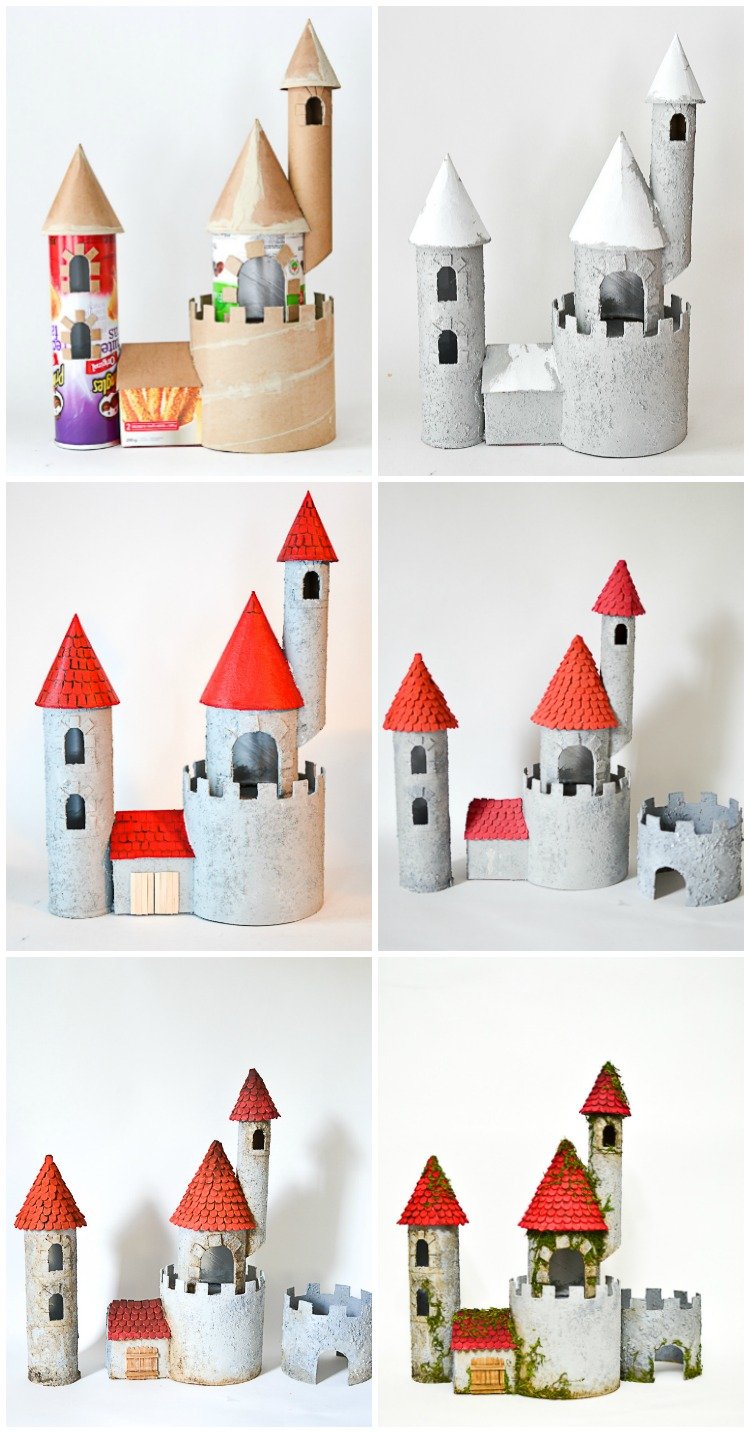
- We painted our castle with grey paint casually mixed of black and white acrylic, adding coarse cornmeal for texture. Add a little bit at a time until you like the texture.
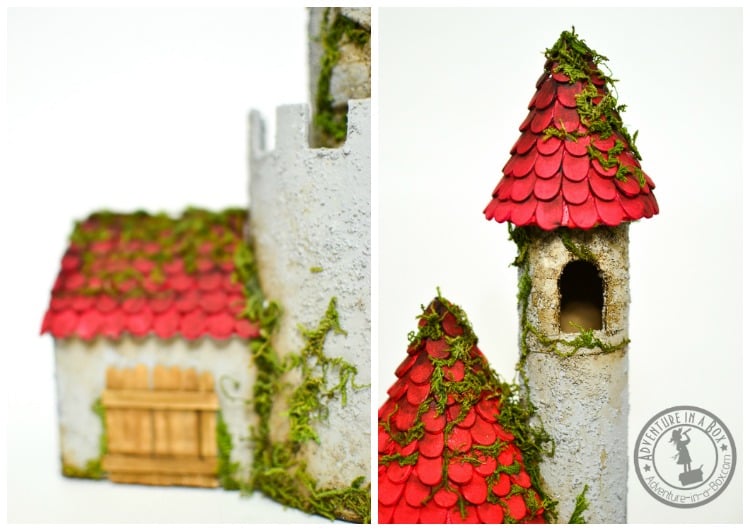
- The roofs on the picture are painted with a white acrylic primer. Looking back at the photos, it was rather nice! The castle had an elegant look of a snowed-in dwelling. But we were going for a brighter look, and painted the roof red on top.
- At first, we thought to draw the shingles with dark brown, and this is the attempt you see on the picture above. It didn't quite meet our expectations, so we embarked on an arduous journey of cutting the shingles out of sticky foam sheets. We ended up using four sheets (8 1/2″ x 5 1/2″) for a few hundred little shingles.
- The next step was my favourite – aging the castle! We diluted raw sienna paint with water and brushed it generously on the walls, especially around the window trim, under the roofs and in the corners. If need be, it's easy to remove the excess right away with a wet cloth to highlight certain areas.
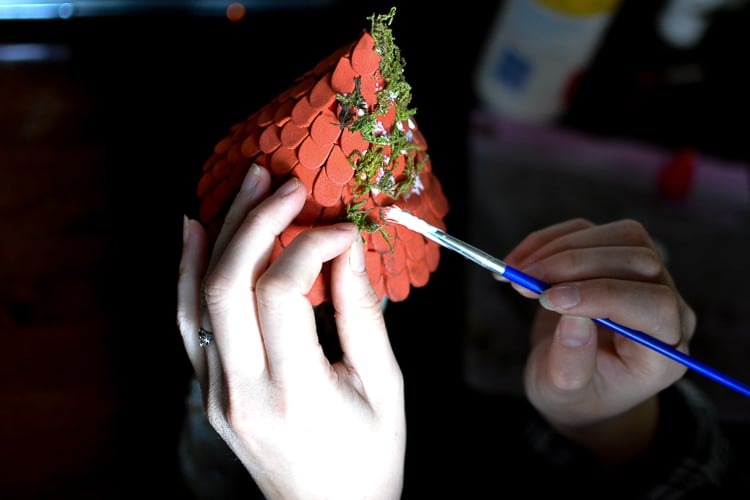
- The last step turned out to be fun too – we glued pieces of preserved moss to the walls with white glue.
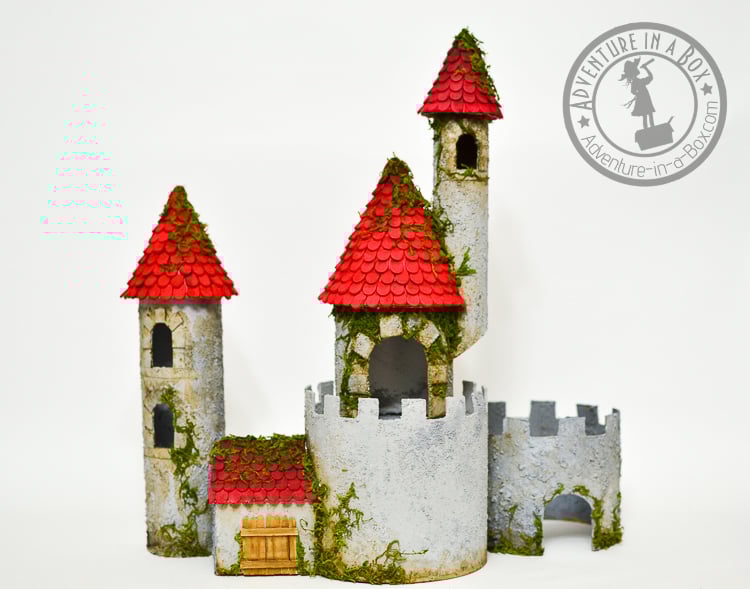
Cardboard Castle
Play with the Castle
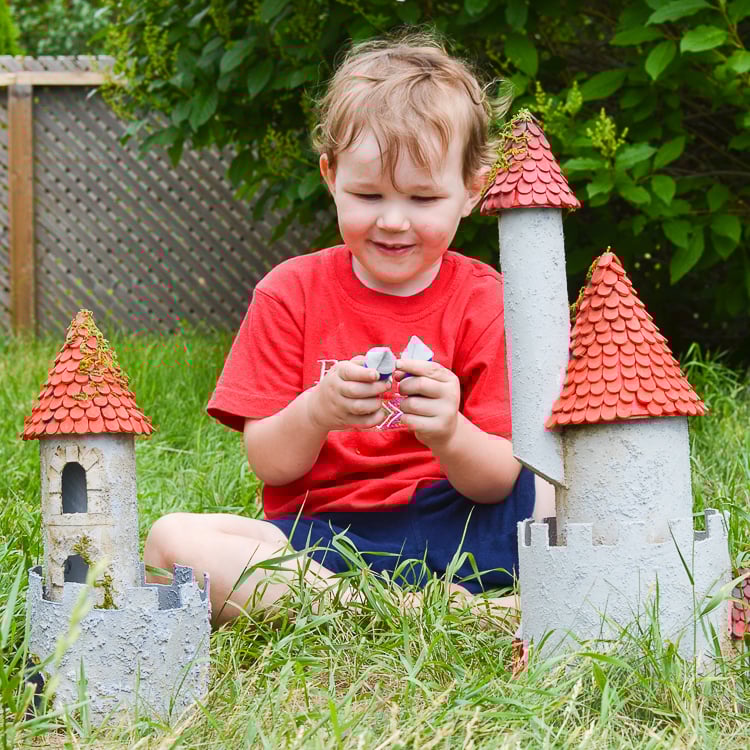
At first we wanted to glue all the towers together to have a big castle, but eventually it occurred to us that it'd be more prone to breaking. So we ended up leaving two towers unattached, and it turned out a lot of fun for Budster, who loves remodelling his castle or even making two castles instead of one and packing them full of knights.
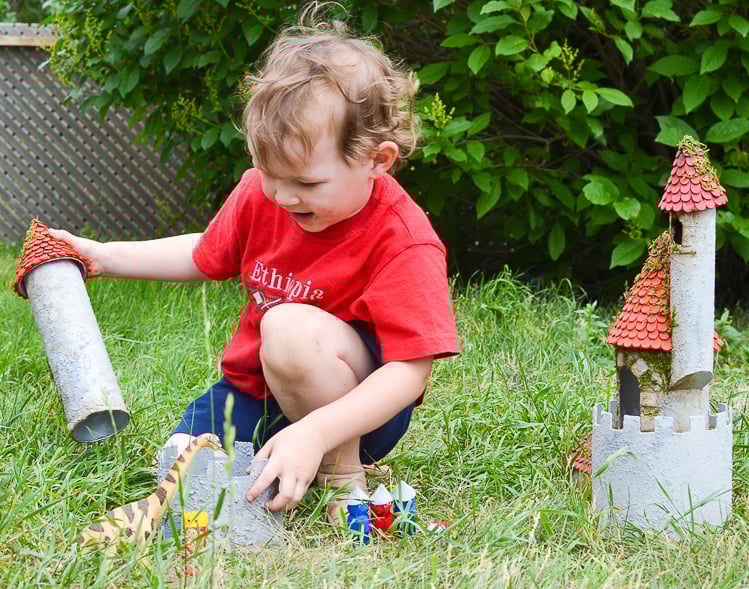
Knights? Yes, we made two little armies of knights out of peg dolls for him, a peg doll king and a peg doll queen, and it brought life and action to the cardboard castle.
The castle turned out to be a great prompt for telling stories about chivalry and fairy-tales about dragon fighting. Or dinosaur feasting, as the case may be. This is the conversation we had the other day when Budster was playing both with the knights and the dinosaur.
Me: Once upon a time, there was a castle where a wise king and a fair queen lived, and their loyal knights protected them day and night… Until one day the dinosaur came!
Budster: Why? (It's the why-stage with him right now!)
Me: To take the castle for himself?
Budster: No! He came to have a feast. And to play hide-and-seek.
Here is the dinosaur playing hide-and-seek in the castle.
More History Activities
How to Make a Origami Castle Step by Step
Source: https://www.adventure-in-a-box.com/diy-make-a-castle-from-recyclable-materials/
0 Response to "How to Make a Origami Castle Step by Step"
Post a Comment