How to Make an Origami Box With Lid Attached
Origami Box in a Box
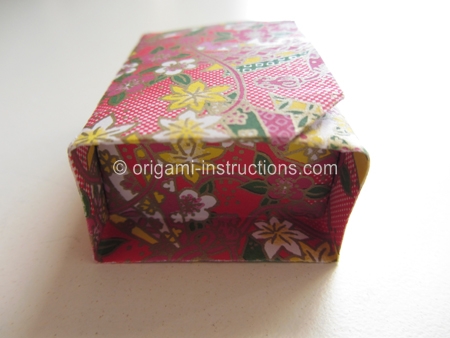
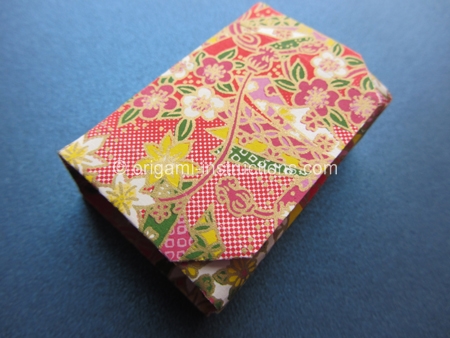
This cool origami box in a box appears to be a rectangle box from the outside. You open the box and there is a square box inside it! This is all accomplished from one sheet of square paper! This smart and wonderful model is by Akiko Yamanashi. This is a perfect box for gifting small jewelry or candy during Valentine's Day, Mother's Day, Father's Day, birthdays and the holiday season.
Made this origami? Comment and Submit your photo using the comment box at the end of this page!
Origami Box in a Box Step 1: Start with a 6 inch x 6 inch (15cm x 15cm) square origami paper, color side down.
Fold paper in half and crease just the center. This is to minimize the number of creases in our finished origami.
This is really optional so if you don't want to, just go ahead and fold and crease all the way as we normally do.
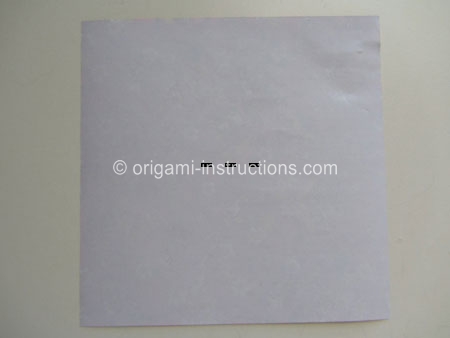
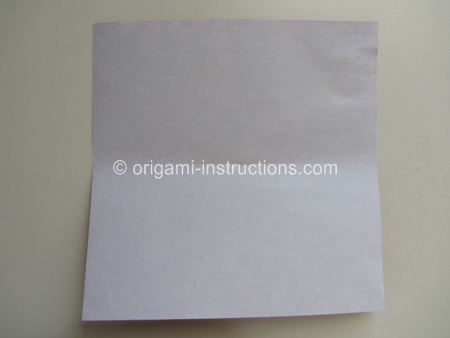
Origami Box in a Box Step 2: Fold both top and bottom halves to meet in the center. Once again, only crease a small part to mark the paper.
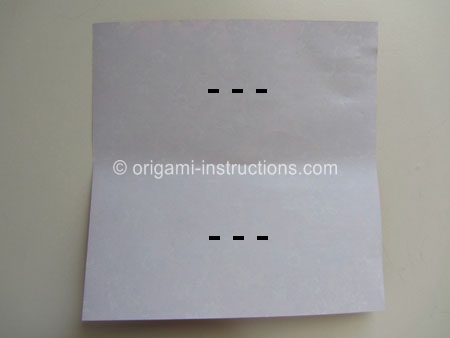
Now you have 3 marked creases - top, center and bottom.
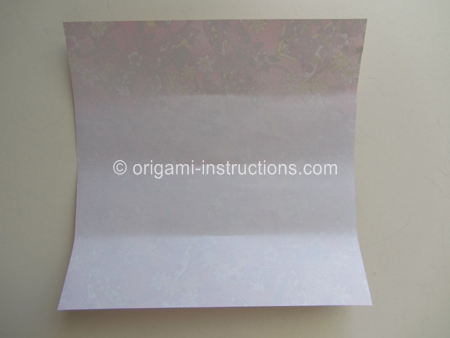
Origami Box in a Box Step 3: Fold the bottom edge to meet the top crease marked by the arrows below. Crease well all the way and unfold.
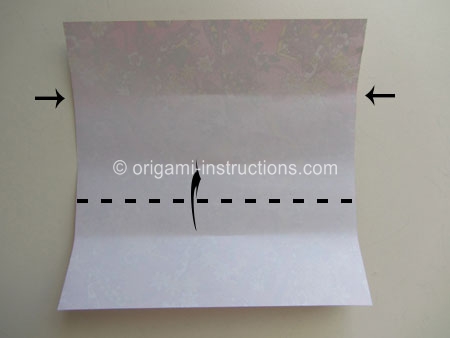
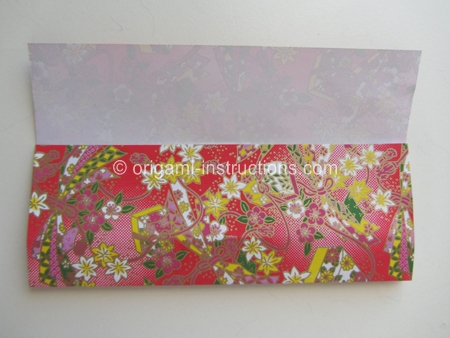
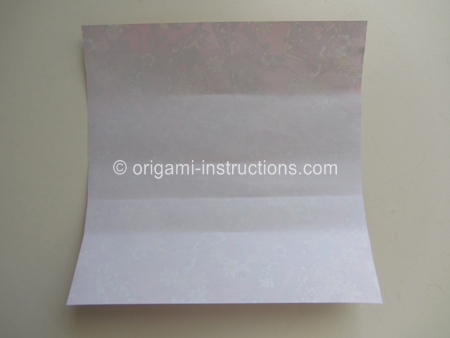
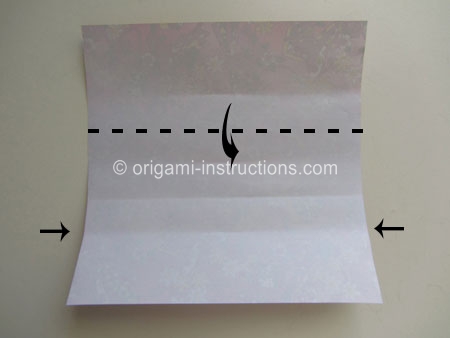
Origami Box in a Box Step 4: Fold the top edge to meet the bottom crease, once again, marked by the arrows below.
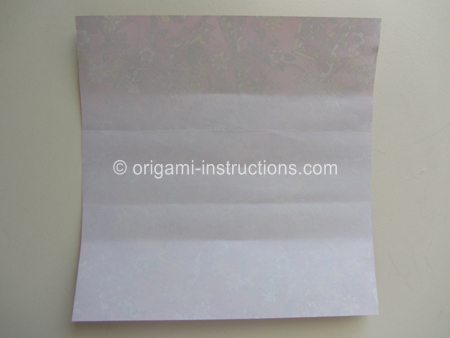
Origami Box in a Box Step 5: Make 2 diagonal creases by folding the bottom right and left corners to the crease line.
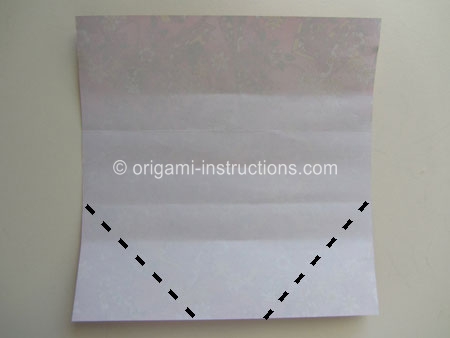
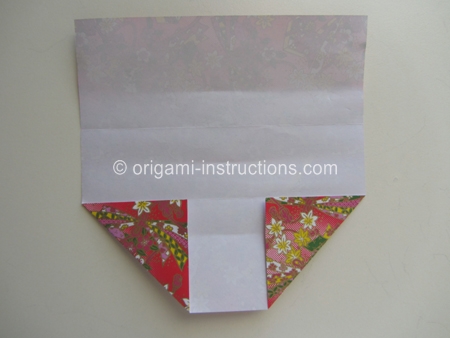
Origami Box in a Box Step 6: Fold the bottom edge upwards.
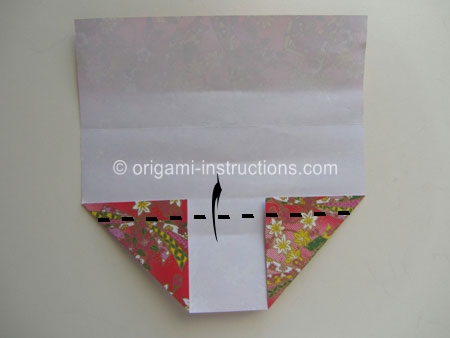
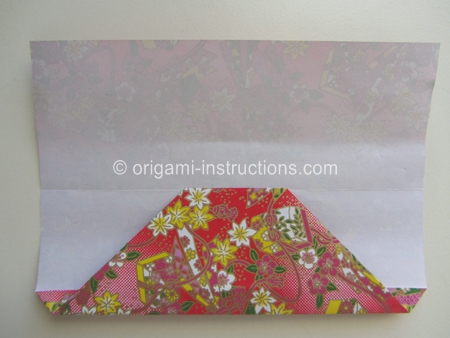
Origami Box in a Box Step 7: Now fold it back down.
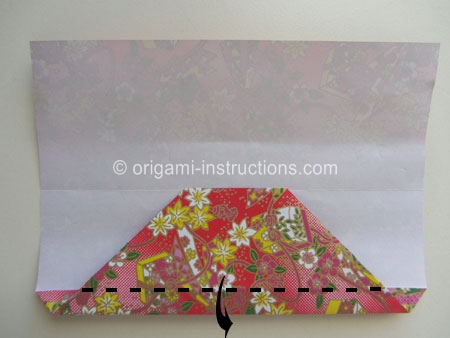
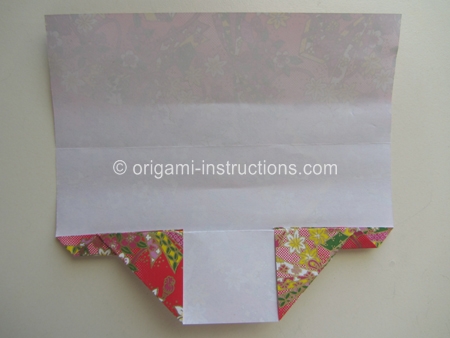
Origami Box in a Box Step 8: Fold the bottom portion in half. Crease well and unfold.
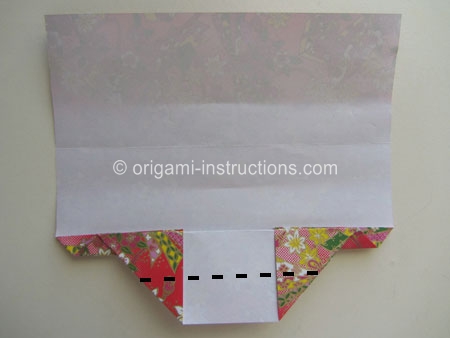
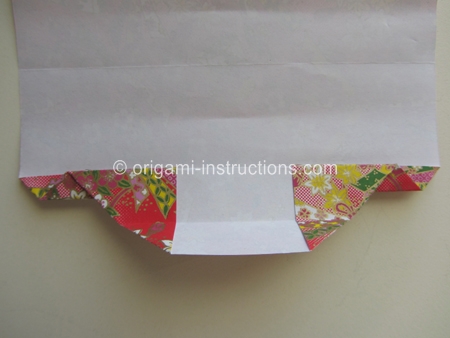
Origami Box in a Box Step 9: Pry paper open on both sides, then crease on the diagonal and press paper flat.
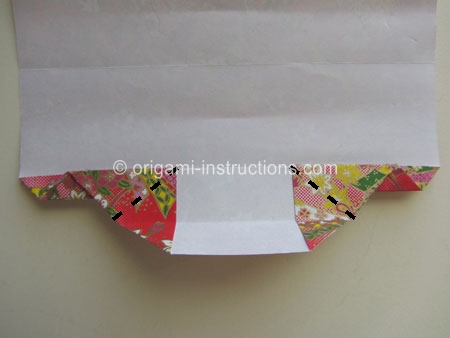
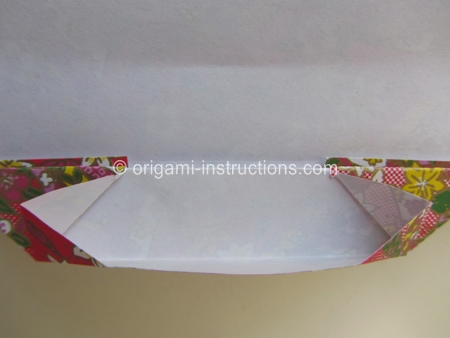
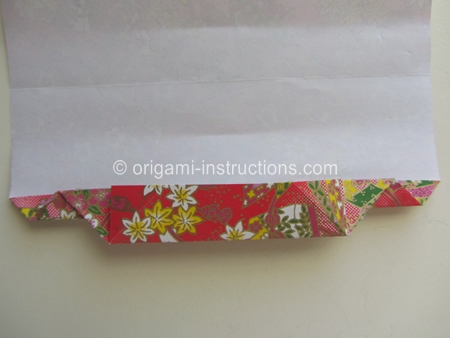
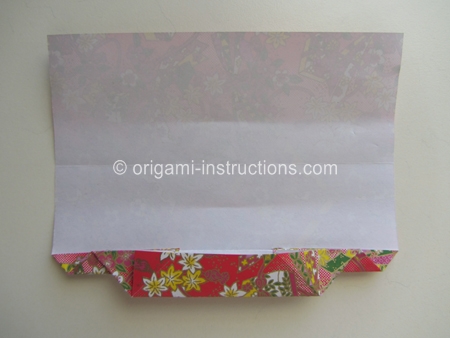
Origami Box in a Box Step 10: Repeat Steps 5 to 9 on the other half of the paper so that both sides are symmetrical/alike. This is what you should have....
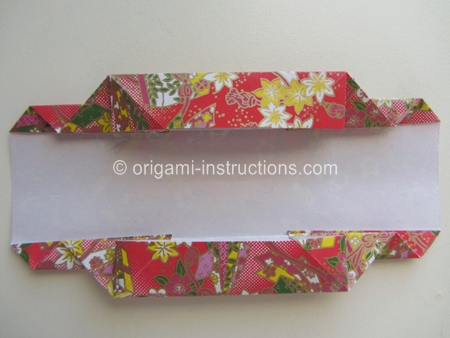
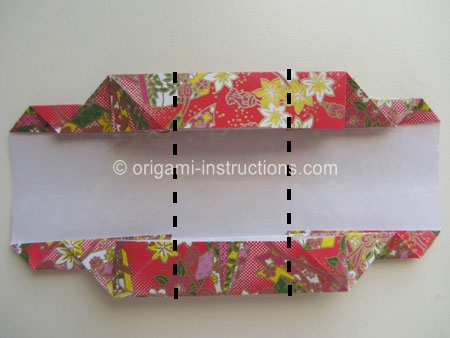
Origami Box in a Box Step 11: Make 2 valley folds where shown below. Crease well and unfold.
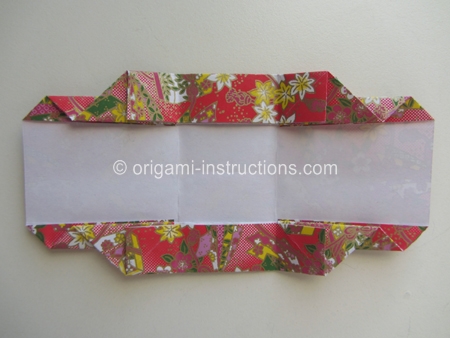
Origami Box in a Box Step 12: Make another 2 valley folds where shown below. Crease well and unfold.
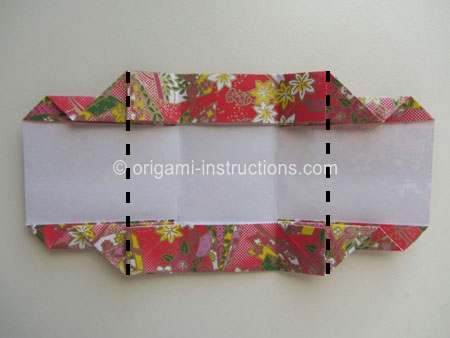
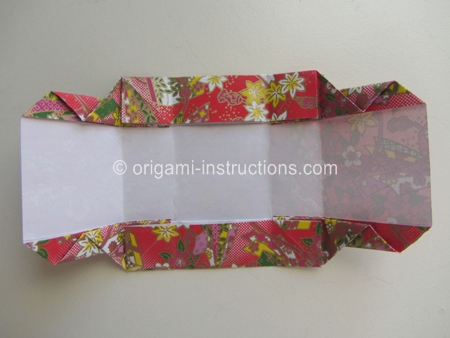
Origami Box in a Box Step 13: We now need to lift up the sides of the box.
The paper is completely flat right now. Here's the side view....
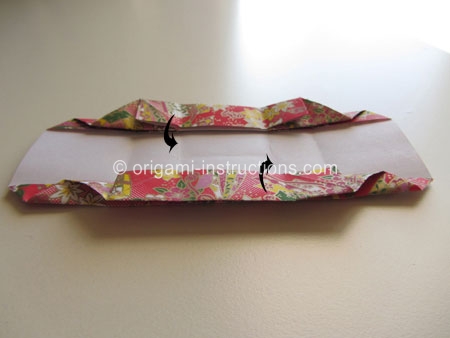
And now, with the side flaps "up"...
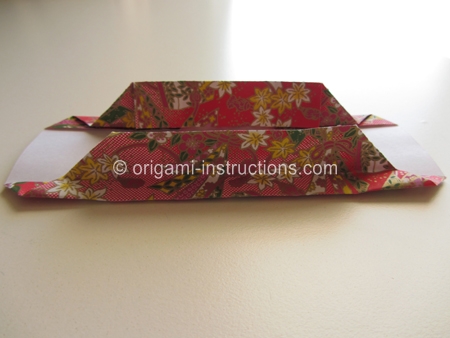
Origami Box in a Box Step 14: With the side flaps up, rotate the paper.
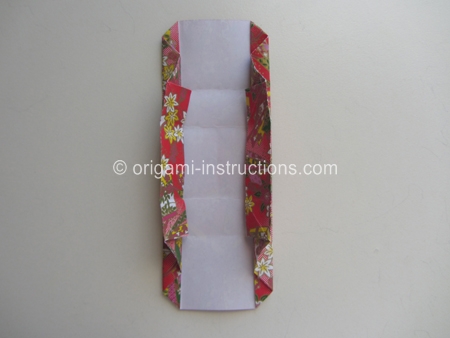
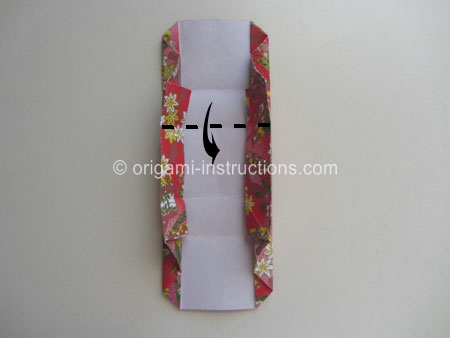
Origami Box in a Box Step 15: Fold paper where shown below. Fold it halfway only.
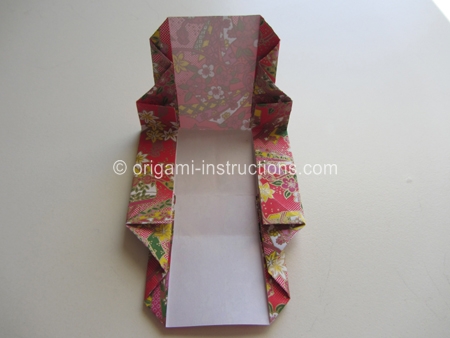
Origami Box in a Box Step 16: Now swivel in the 2 sides...
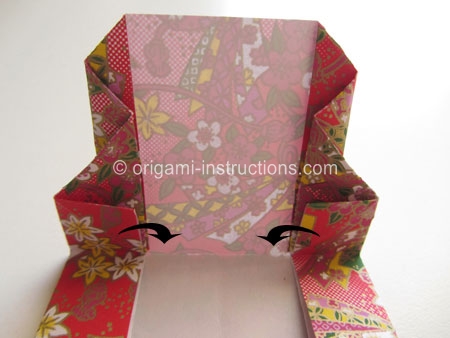
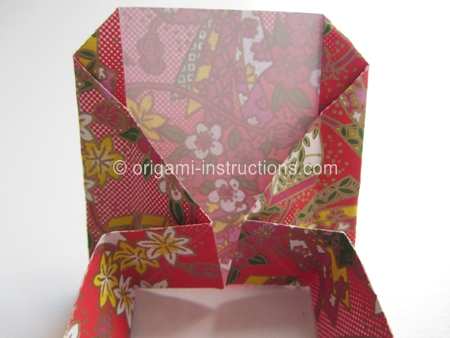
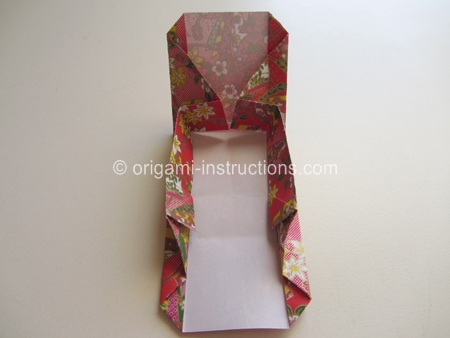
Origami Box in a Box Step 17: We're now going to repeat Steps 15 and 16 on the other side.
Rotate the paper again so that we can see it better.
Make the valley fold halfway.
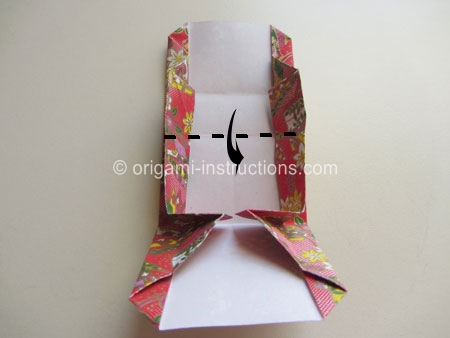
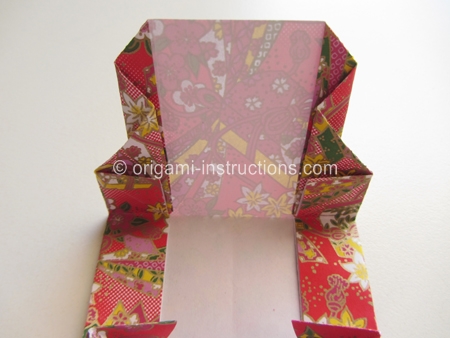
Origami Box in a Box Step 18: Once again, swivel in the 2 sides.
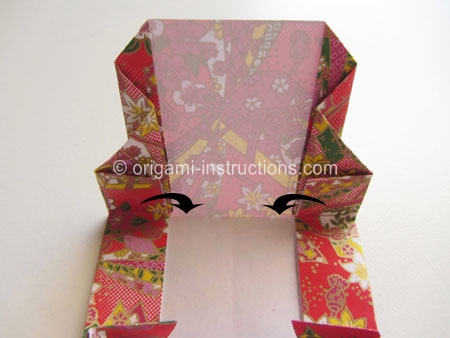
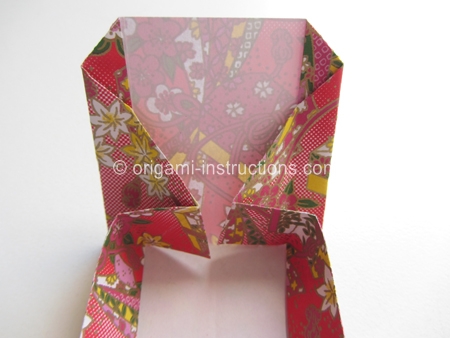
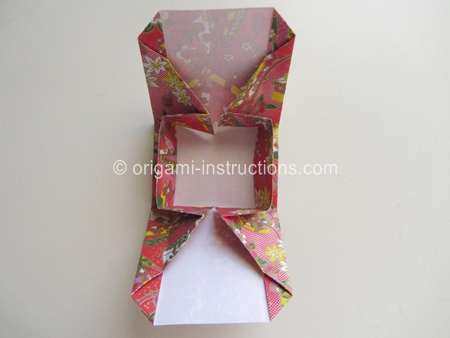
Your origami box in a box is essentially complete at this point! Just bring the 2 flaps together to form the lids.
You can use ribbon or string to tie the lids shut.
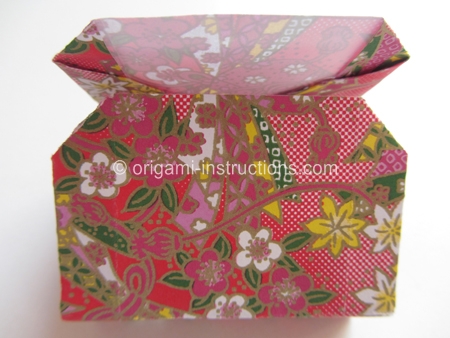
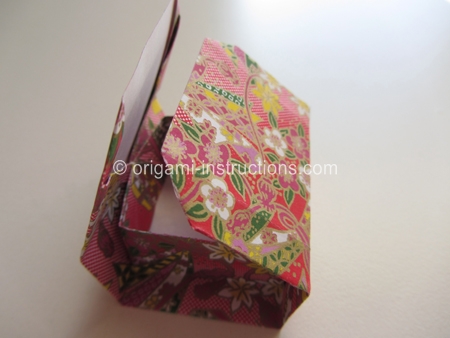
Here's another option to close your box. Bring one side of the lid and tuck it into the pocket of the other lid....
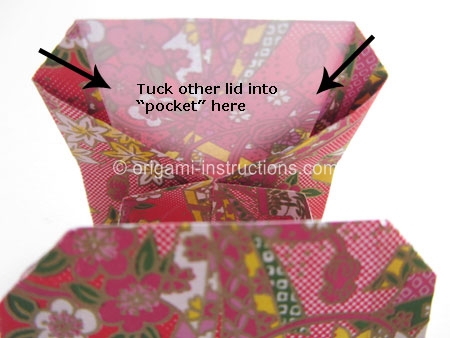
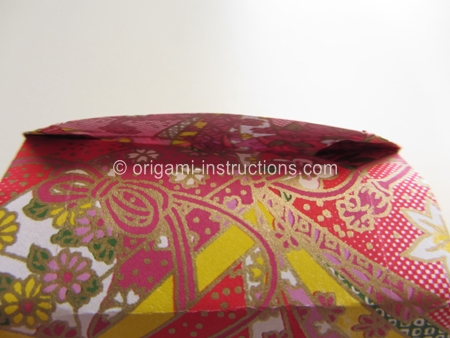
and voila! Your origami box in a box is now complete with lids all tucked in! The shape reminds me of an old matchstick box...
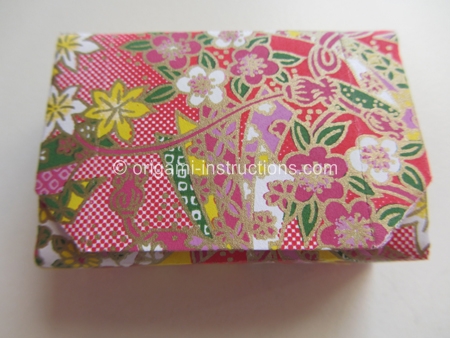
Did you make this origami? If so, upload your photo (2MB limit) via the comment box below. You can login with your Facebook, Twitter, Google or Yahoo accounts.
How to Make an Origami Box With Lid Attached
Source: http://www.origami-instructions.com/origami-box-in-a-box.html


0 Response to "How to Make an Origami Box With Lid Attached"
Post a Comment